

How to Hide Dash Cam Wires in Your Car

Hide dash cam wires by routing power along the headliner, down the A-pillar only if the airbag path is clear, then behind trim to the fuse box or 12V socket. Poor routing can interfere with side-curtain airbags, rattle loose in heat, and turn later removal into a mess. This guide covers the cleanest safe path, the trim points to avoid, and the tools that keep the install serviceable. Follow the vehicle and product manual, never work under a vehicle held only by a jack, never exceed the vehicle’s rated roof, hitch, or tow limit, keep items out of airbag zones and the driver’s view, and check local laws.
Choose the cleanest power route first
The power source decides how hidden the cable can be and how easy removal will be later. A 12V outlet or OBD2 adapter is simpler, while a fuse box with a fuse tap is usually the cleaner hardwire route for parking mode. Follow the vehicle and product manual, keep cable paths out of airbag zones and the driver’s view, and check local laws.
Match the route to your goal
If you want the least panel removal, start with a 12V outlet or OBD2 port and hide only the visible run. If you want parking mode and a cleaner final look, hardwire to the fuse box with the correct fuse tap setup. Check your owner’s manual and fuse-box layout before you choose; layouts vary by model.
Do not treat OBD2 as automatically battery-safe. Many OBD2 ports stay live when parked, which can work against parking mode unless your vehicle and adapter are confirmed to behave as expected. A fuse tap lets you choose constant and ACC power correctly, but only if you also set a proper ground and low-voltage cutoff.
Check the vehicle manual before any trim work
Before you remove a single panel, verify the trim layout, airbag layout, and fuse-box layout for your exact vehicle. Some A-pillar trims use airbag-specific clips or one-time retainers. If the manual says not to remove a panel casually, stop there and choose another route.
- Decide whether the install needs parking mode.
- Confirm the exact fuse-box, trim, and airbag layout in the manual.
- Choose the least exposed power path that still meets the goal.
- Plan the route so the cable follows natural seams and panels.
Where should the wire start?
Start near the rearview mirror. That keeps the visible run short and lets the cable disappear behind the mirror housing before it reaches the headliner edge. A camera placed near the mirror is steadier and less noticeable, and a tube-style body usually hides better than a larger camera body. Keep the camera out of the driver’s view and follow the vehicle and product manual.
Hide the first section behind the mirror housing
Use the mirror area as the first hiding point, then guide the cable toward the nearest seam. That reduces the amount of wire exposed across the windshield. A visible run across open glass is easy to spot and can be distracting, especially in bright light or at night.
Suppose the cable drops straight from the camera to the dash. The run will stay visible, and the loose section can swing against the windshield or mirror housing. If the same cable disappears into the headliner at the mirror edge, the install looks tighter and is less likely to snag.
Keep the camera out of the driver’s view
Mounting near the mirror works best when the camera does not block the driver’s sightline. Stay clear of the glass area that matters for driving, and do not route the cable through the windshield zone where it can catch attention or interfere with an inspection.
Dash cam wire routing table
This table compares the main power paths and the rear-camera lead. Use it to decide where the hidden run should go before you start opening trim.
| Power source | Cable path | Safety risk | Concealment quality | Removal difficulty | Best use case |
|---|---|---|---|---|---|
| 12V outlet | Mirror area, then along the headliner and down to the outlet, often through the footwell or along a door seal edge | Low if kept out of airbags and pedals; watch for loose cable near feet | Good, but some visible cable may remain near the lower dash | Easy | Simple install, quick removal, minimal panel work |
| OBD2 | Mirror area, then along the headliner and down the A-pillar or down to the lower dash near the port | Medium; many ports stay live when parked, and cable must stay clear of airbags | Good if the lower run is hidden in trim or the footwell | Easy to moderate | Fast setup when you want fewer hardwire steps |
| Fuse tap hardwire | Mirror area, under the headliner, down the A-pillar only if allowed, then to the fuse box with a hidden ground point | Medium to high if routed through the wrong trim; lower once the path is verified and secured | Very good | Moderate | Parking mode, cleaner OEM-style install, fewer visible wires |
| Rear camera cable routing | Front camera, under the headliner, across the roofline, then down the rear pillar or along trim to the rear window | Medium; long runs can rattle, sag, or cross trim with moving parts | Good if the run follows roof and pillar seams | Moderate | Dual-camera systems where the rear lead must stay hidden |
Stop here checklist
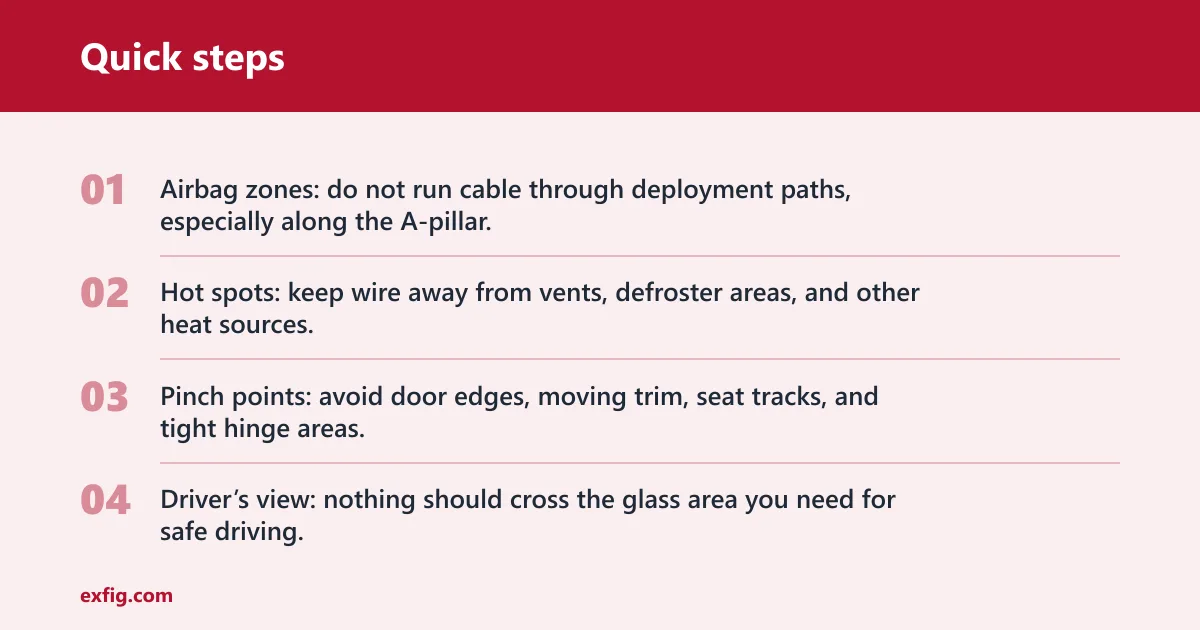
- Airbag zones: do not run cable through deployment paths, especially along the A-pillar.
- Hot spots: keep wire away from vents, defroster areas, and other heat sources.
- Pinch points: avoid door edges, moving trim, seat tracks, and tight hinge areas.
- Driver’s view: nothing should cross the glass area you need for safe driving.
Can you run the cable under the headliner?
Yes, but only as a gentle tuck, not a forced shove. The cable can ride between the roof lining and roof when you lift the edge slightly and use just enough space for the wire to sit. If the headliner resists or the cable binds, stop and choose another visible seam. Follow the vehicle manual, keep clear of airbag zones and the driver’s view, and check local laws.
Tuck the cable gently
Use a trim removal tool to lift the edge without tearing the lining. The goal is to slide the wire under the headliner, not to pry hard or crease the material. A gentle lift also helps avoid permanent marks and makes it easier to reverse the route later.
Route the wire toward the windshield edge first, then toward the A-pillar or the nearest safe seam. A good route follows the edges of the windshield and dashboard using the car’s natural seams and panels. If the cable pops back out after a few minutes, the run is too tight or the liner is under stress.
Stop if the headliner fights back
Some headliners have little slack. If the cable will not stay tucked without force, do not push harder. That can damage the lining, create a sag, or leave a visible line across the roof edge. A hidden install is not worth a damaged interior panel.
What should you do at the A-pillar?
Treat the A-pillar as a special case. It is a common cable path, but only if your vehicle’s manual allows it and the wire stays clear of the airbag deployment area. The pillar is also where trim clips and retainers vary most by model, so check the service manual before removing anything. Follow the vehicle and product manual, keep the cable out of airbag zones and the driver’s view, and check local laws.
Check the service manual first
Some pillar trims use airbag-specific clips or one-time retainers. If the manual does not clearly allow panel removal, do not force the trim. A safer route is to keep the cable at the windshield edge, then drop it toward a fuse box or an accessible lower seam.
Choose an alternate path if needed
If the A-pillar area is airbag-sensitive on your vehicle, route the cable to the door seal edge or another approved seam instead. Do not press the wire into the seal so hard that the seal is doing the job of a clamp. Light tucking beside the seal is different from compressing the cable under the seal.
A common first-timer mistake is to route the wire along the inside of the pillar because it looks hidden at a glance. That can place the cable where an airbag deploys or where a clip holds the trim in a way that makes removal messy later.
How do you secure the cable neatly?
Use adhesive cable clips, zip ties, and short runs of electrical tape to control slack. These parts keep the wire from swinging, rattling, or slipping back into view, but they do not replace safe routing. Follow the vehicle and product manual, keep items out of airbag zones and the driver’s view, and check local laws.
Use clips on flat surfaces and edges
Adhesive cable clips work well on flat surfaces, bends, and endpoints where loose wire would sag or swing. They are useful near the rearview mirror housing, along a dash edge, or at the point where a hidden run changes direction. Clean the surface first so the adhesive has a better chance of staying put in heat.
Bundle slack out of sight
Use zip ties to bundle excess cable and cut down on tangles and rattles. Place the tie where it cannot be seen and where the bundle will not press against moving trim. Electrical tape can hold a short hidden run together, but it should not be treated as the main routing method.
Heat matters. Adhesive can fail in warm weather, and a cable that looked hidden in the morning can sag by afternoon. If that happens, move the anchor point rather than stacking more tape on the same weak spot.
Use a better toolkit, not a bigger screwdriver
The minimum useful set is a trim removal tool, a flashlight, wire clips, electrical tape, and a cutter or scissors. A flathead screwdriver can help in a pinch, but a trim removal tool is safer for panels and soft trim because it reduces the chance of marks and broken clips. The tool list should match the job, not the other way around.
How do you hard wire a dash cam neatly?
Hardwiring is neat when the fuse choice, ground point, fuse-tap orientation, and low-voltage cutoff are all correct. Start with the fuse box layout for your exact vehicle. Use a constant fuse for parking mode, an ACC fuse for ignition-switched power, and a proper ground point. Follow the vehicle and product manual, keep cable paths out of airbag zones and the driver’s view, and check local laws.
Choose constant and ACC fuses correctly
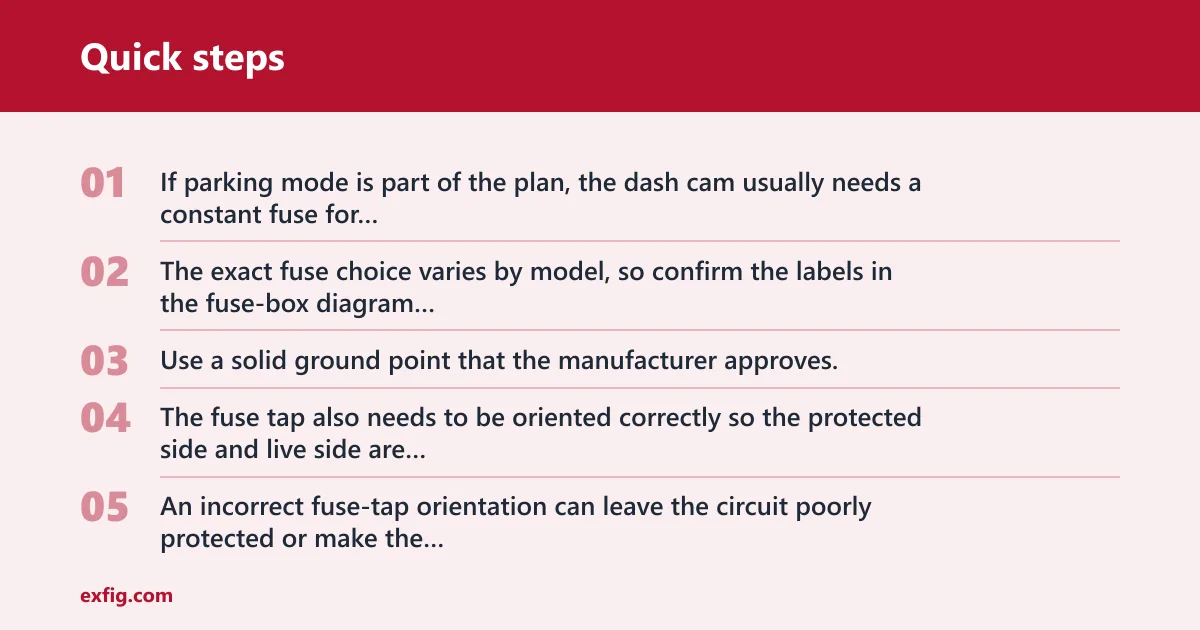
If parking mode is part of the plan, the dash cam usually needs a constant fuse for standby power and an ACC fuse so the camera knows when the vehicle is on. The exact fuse choice varies by model, so confirm the labels in the fuse-box diagram rather than guessing from slot location alone.
Set the ground and fuse tap correctly
Use a solid ground point that the manufacturer approves. The fuse tap also needs to be oriented correctly so the protected side and live side are in the right places. An incorrect fuse-tap orientation can leave the circuit poorly protected or make the hardwire kit behave unpredictably.
Use low-voltage cutoff for parking mode
If the camera can record while the car is parked, a low-voltage cutoff helps avoid battery drain. That setting matters more than a neat-looking cable, because a hidden install that leaves the battery weak is a bad install. Check the hardwire kit instructions for the correct cutoff method for your model.
Say your car has a fuse box under the dash and a clear ACC slot in the manual. A hardwire kit can keep the camera hidden, but only if the cable path avoids the airbag zone and the cutoff is set correctly for parking mode. If not, the cleaner-looking route can still create a service problem later.
How do you remove dash cam wires cleanly later?
Plan removal while you install. Keep clips reachable, avoid burying adhesive under trim edges, and leave enough slack at the camera and power end to reverse the route without pulling hard. Reversing the path slowly is the safest way to avoid torn headliner edges, broken clips, or adhesive residue. Follow the vehicle and product manual, keep items out of airbag zones and the driver’s view, and check local laws.
Reverse the route slowly
Remove power first, then work backward from the camera to the power source. Pull the cable free in the same order you routed it in. If a section resists, stop and check for a hidden clip or a tight bend before yanking on it.
Expect some residue in heat
Some adhesive cable clips leave residue when removed in warm weather. That is normal enough to plan for, but it still should not be ignored. Use a method that allows later access to the adhesive pad, especially at the mirror area and lower dash.
Another common mistake is routing the rear camera lead across a long roof section without any service access. That can make later removal much harder than the front camera route, even when the install looks clean from outside.
Frequently asked questions
How do I hide dash cam wires in my car?
Hide dash cam wires by starting near the rearview mirror, tucking the cable under the headliner edge, then following approved trim seams to the chosen power source. Keep the run away from airbags, heat sources, and pinch points. If the vehicle manual blocks a route, choose a different seam instead of forcing the cable.
How do I wire in a dash cam without visible cables?
Use the mirror area as the starting point, then hide the wire in the headliner and along approved trim edges. A fuse tap hardwire usually hides best, but only if the fuse choice, ground, and fuse-tap orientation are correct. Some cars still need a short visible section near the lower dash.
Can I run dash cam cables under the headliner safely?
Yes, if you lift the edge gently and tuck only enough cable to hold it in place. Do not force the liner or create a crease. Keep the cable out of airbag zones and stop if the material resists, because some vehicles need a different path under the manual’s trim rules.
What tools do I need to hide dash cam wires?
The core tools are a trim removal tool, a flashlight, wire clips, electrical tape, and scissors or cutters. A flathead screwdriver can help in limited cases, but a trim tool is safer for panels and soft trim. Use zip ties for hidden slack, not as a substitute for proper routing.