How to Fix LED Hyper Flash with a Load Resistor

Use a load resistor only if the vehicle’s turn-signal circuit needs the original bulb current and you cannot swap in an electronic flasher or CANbus-compatible bulb. For many 12V turn signals, a 6-ohm, 50-watt resistor per side is the usual fix. Ignore hyper flash and the car may signal a bulb fault, flash at the wrong rate, or overheat a poorly mounted resistor. This guide shows how to confirm the cause, choose between a resistor, flasher relay, or CANbus solution, and wire it safely.
What you’ll need
- Load resistor, often 50W 6ohm for many vehicles
- Splice taps or T-taps
- Pliers
- Screwdriver
- Drill, if your mounting point needs new holes
- Electrical tape or heat-shrink tubing
- Vehicle-specific LED bulb base, such as 1156, 1157, or 7440
- Safety gloves and eye protection
Load resistor decision table
| Symptom | Vehicle type | Likely fix path | Quick troubleshooting if it fails |
|---|---|---|---|
| Hyper flash only | Older vehicle with replaceable flasher relay | Try an electronic flasher relay first | Check relay compatibility, bulb base, and ground before adding resistors |
| Hyper flash only | Fixed-rate or load-monitored circuit | Use a 6 ohm, 50W resistor wired in parallel | Confirm the resistor is on the correct side and the circuit has a good ground |
| Bulb-out warning plus hyper flash | CANbus-equipped vehicle | Use a CANbus decoder or CANbus-compatible bulb | Recheck for cold-check errors, wrong bulb base, or a mixed front/rear circuit |
| One side flashes fast, the other side is normal | Any platform with separate left/right circuits | Fix only the affected side; one resistor per affected bulb or circuit side is common | Inspect that side’s positive wire, ground, and lamp socket before adding more parts |
| Hazards work differently from turn signals | Vehicles with separate hazard and turn-signal paths | Trace both circuits before buying parts | If hazards stay normal, the turn-signal circuit may be the only one needing correction |
Start here: confirm the symptom
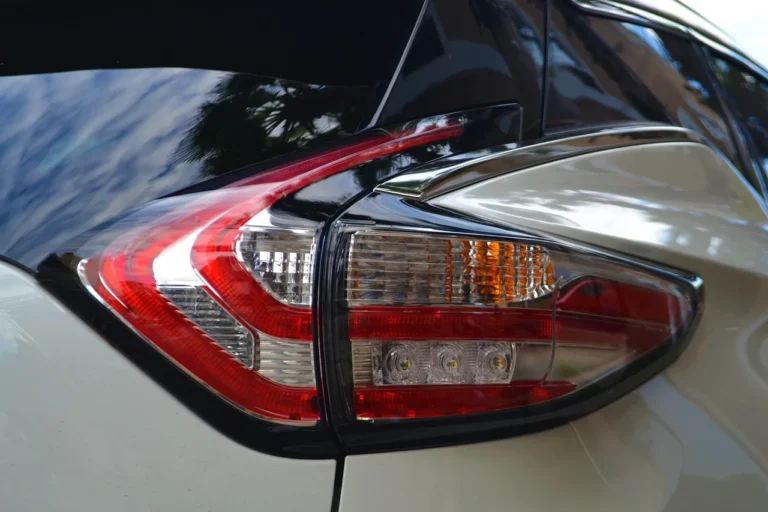
Hyper flash means the turn signals blink much faster than normal, often after an LED bulb conversion. That usually happens because LED bulbs draw less current than halogen bulbs, so the flasher circuit thinks a lamp is missing. A bulb-out warning changes the diagnosis toward CANbus monitoring or a wiring fault.
Check the pattern first
- Turn on the left signal, then the right signal, then hazards.
- Note whether the problem affects only one side or all corners.
- Compare front and rear channels separately, because they may not share the same path.
- Inspect the bulb base type before buying parts; 1156, 1157, and 7440 do not fit the same way.
Say your left rear LED flashes fast, but the left front is normal. That points to a side-specific issue, not a whole-vehicle load problem. A single bad ground or the wrong socket pinout can mimic a resistor failure.
Why do my LED turn signals hyper flash?
LED turn signals typically draw 2-5W, while a typical halogen indicator bulb draws about 21W. That current drop can make the flasher relay speed up to about 2-4x normal blink speed. Some vehicles also perform cold checks at startup, which may trigger a bulb-out warning and rapid flashing.
Why the circuit reacts
The turn-signal circuit expects a certain load on the positive and ground wires. When current falls too far, older load-based flashers and some monitored modules respond as if a bulb is out. Front and rear channels may be watched separately, so a single LED swap can affect only one end of the car.
What to choose first
Start with the vehicle type, not the resistor. If the car uses a replaceable flasher relay, that relay may solve the issue more cleanly than extra heat in the lamp circuit. If the vehicle uses CANbus monitoring, a decoder or compatible bulb may be the better fit. Use a resistor only when the circuit needs added load.
How to choose the right fix
- Check whether the flasher relay is separate and replaceable.
- Check the owner’s manual or service information for CANbus monitoring.
- Match the bulb base and the affected side before ordering any part.
- If the only symptom is fast flash on one LED circuit, a resistor is a common fix.
A common first-timer mistake is buying a 6 ohm resistor for every LED problem. That can waste time on a car that really needs an electronic relay, a CANbus decoder, or a coding change.
A load resistor simulates halogen load by wiring in parallel with the LED bulb circuit. It does not fix a bad bulb socket, a weak ground, or the wrong base. Many installs use a 50W 6ohm resistor, and the resistor does not have polarity.
Step-by-step install
- Disconnect the battery if your vehicle service procedure calls for it.
- Expose the turn-signal positive wire and the ground wire for the affected bulb.
- Use splice taps or T-taps to connect the resistor in parallel, one lead to positive and one to ground.
- Mount the resistor on a heat-safe metal surface away from plastic and wiring.
- Use a screwdriver, pliers, and a drill if the mounting point needs holes.
- Turn on the signal and hazards, then verify normal flash speed.
The resistor can operate at 250°F in some installs, so do not bury it in foam, wrap it against harness tape, or fasten it to a fragile housing. If a mounting point feels questionable, pick a different metal surface.
Common mistakes
Most failed installs trace back to wiring, not the resistor itself. If the flash rate stays wrong after the part goes in, check the bulb base, the ground, and whether you tied into the correct circuit. Mixed hazard and turn-signal behavior is a strong clue that the wrong branch was tapped.
- Wrong bulb base: 1156, 1157, and 7440 use different sockets and pin layouts.
- Poor ground: A loose or painted ground point can keep the circuit from seeing the expected load.
- Incorrect wiring: A resistor wired across the wrong wires will not correct the flash rate.
- One resistor where two are needed: Some vehicles need one resistor per bulb or per affected circuit side.
- Bad mounting: Plastic, trim, and loom can melt or deform near a hot resistor.
Suppose only the rear left signal still hyper-flashes after installation. That usually means the front and rear channels are not the same circuit, or the rear socket has a bad ground. Recheck the wire colors and the lamp base before adding another resistor.
Can a flasher relay or CANbus fix it instead?
Yes. On older vehicles with a replaceable flasher relay, a relay designed for LED load behavior can fix hyper flash without extra heat in the lamp housing. On CANbus vehicles, a decoder or CANbus-compatible bulb may stop bulb-out warnings more cleanly than a resistor.
When to skip the resistor
- Use an electronic flasher relay if the factory relay is replaceable and the vehicle supports it.
- Use a CANbus decoder if the body module monitors lamp current and sets errors.
- Use a coding change if the platform allows lamp-type coding through the vehicle settings menu or scan tool.
- Use a resistor only if the circuit still needs a load simulation after those checks.
One resistor does not fit every platform. A 2002 Chevrolet Tahoe may need a different fix path than a newer CANbus model, even if both use LED turn signals.
Frequently asked questions
Do I need resistors for LED turn signals?
Not always. If the vehicle accepts LED bulbs with an electronic flasher relay, a CANbus decoder, or coding changes, a resistor may be unnecessary. Use a resistor when the circuit needs added load to stop hyper flash or a bulb fault and no cleaner fix is available.
Which load resistor do I need for LED bulbs?
For many 12V turn-signal conversions, a 50W 6ohm resistor is the standard choice. That value is described as compatible with most vehicles, but you still need to match it to the affected bulb circuit and confirm that the vehicle is not better served by a relay or decoder.
Where do you wire a load resistor for LED turn signals?
Wire it in parallel with the affected bulb circuit, across the positive and ground wires for that lamp. Mount the body of the resistor to metal, not plastic, and keep it away from wiring looms, trim, and sockets that can soften under heat.
Why do load resistors get so hot?
They burn off the extra power that the LED bulb no longer uses. In some installs they can reach around 250°F, so they need a heat-safe metal mounting point and clear space around them. Heat is part of the design, which is why placement matters so much.
Can a flasher relay fix LED hyper flash instead of a resistor?
Yes, if the vehicle uses a traditional replaceable relay. That path is often cleaner on older cars and trucks because it changes the blink timing at the source instead of adding heat at the lamp. Check relay type first, then decide whether the resistor is still needed.
What causes a bulb-out warning after LED upgrade?
Many modern cars are commonly reported to run cold checks at startup and monitor current draw. A large drop in current can trigger a bulb-out warning and hyper flash. If the warning appears right after an LED swap, the fix may be a CANbus decoder, a compatible bulb, or a resistor on the monitored circuit.