How to Fix Hyper Flash Without a Resistor

Fix hyper flash without a resistor by matching the fix to the car’s flasher or lamp-monitoring system: install an LED-compatible flasher if the vehicle uses a replaceable relay, code out lamp monitoring if the body module allows it, or repair the circuit fault if the flash rate changed because of a bad connection. Ignore it and you can hide wiring faults, trigger bulb-out warnings, or leave turn signals harder to notice. This guide explains how to identify the system, choose the right fix, and avoid load resistors.
What causes LED hyper flash?
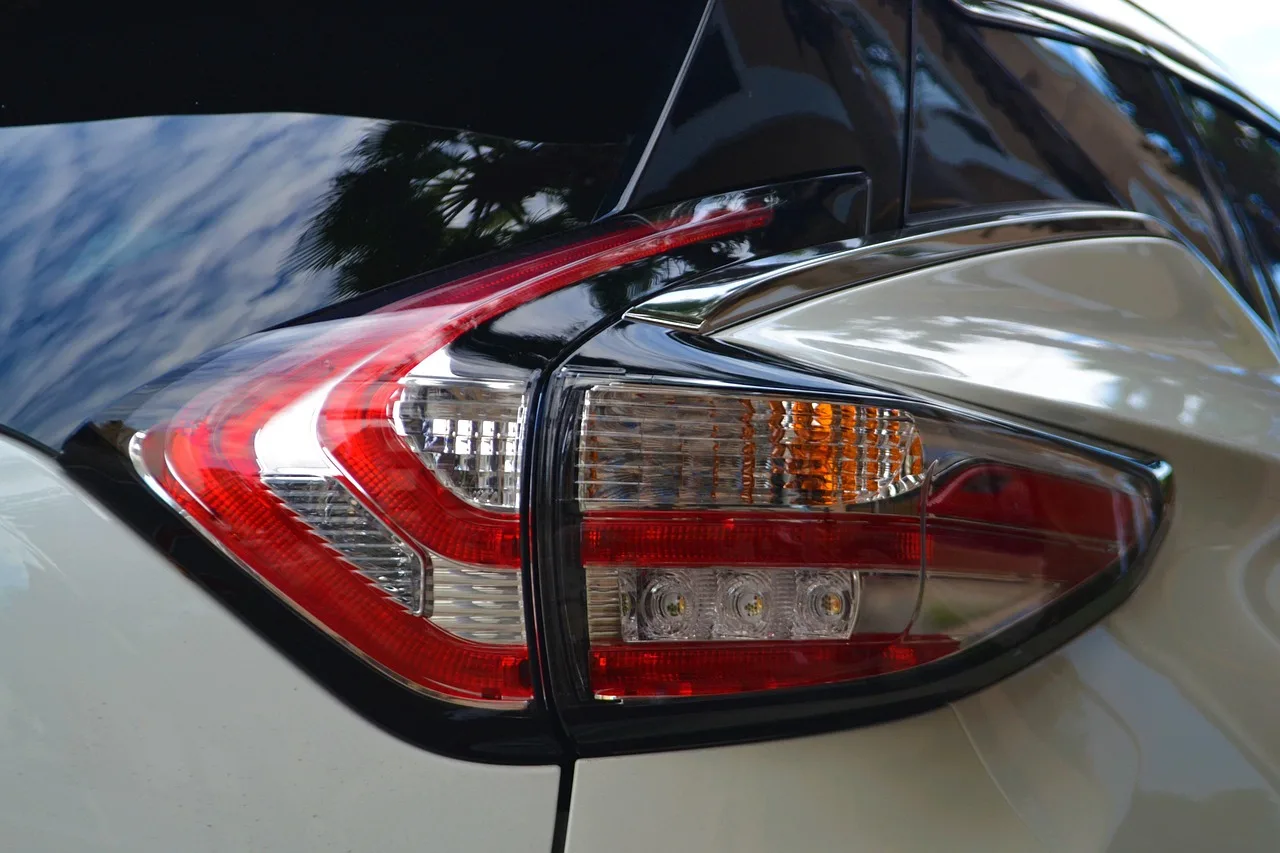
LED turn signals often flash fast because the car expects the higher load of a halogen bulb and sees much less current after the swap. A 21 W filament indicator bulb draws about 1.75 A at 12 V, while LEDs often draw a fraction of that, so the body module or flasher thinks a lamp has failed.
That fast blink is usually roughly twice normal. It can also come with bulb-out warnings, startup flicker, or a warning that appears only on one side.
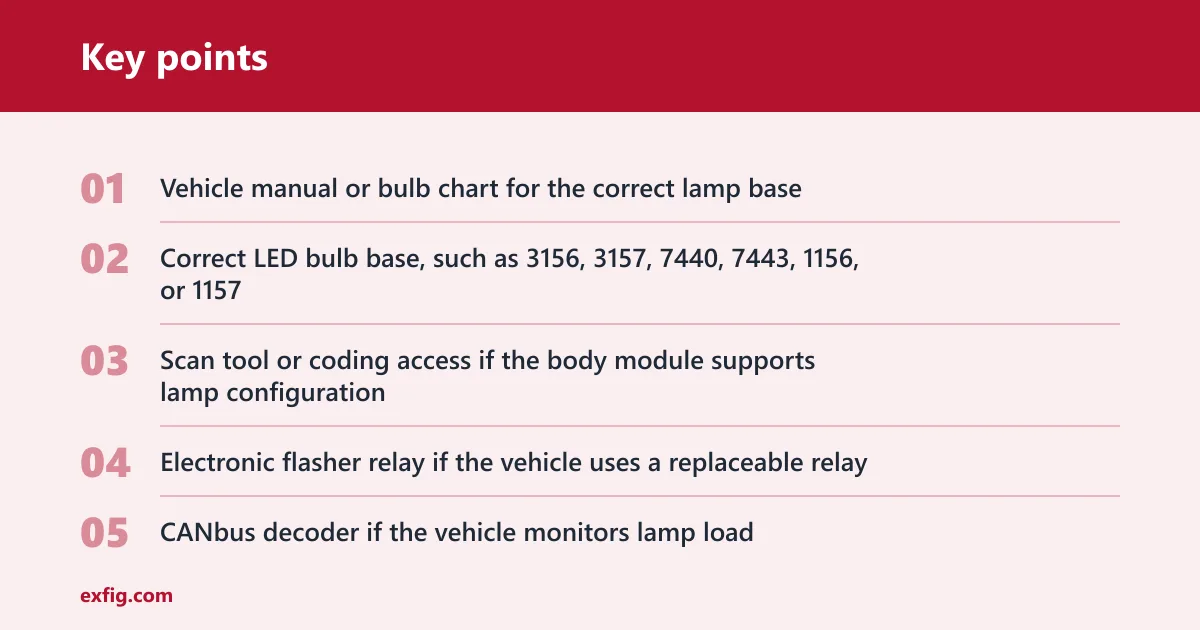
What you’ll need
- Vehicle manual or bulb chart for the correct lamp base
- Correct LED bulb base, such as 3156, 3157, 7440, 7443, 1156, or 1157
- Scan tool or coding access if the body module supports lamp configuration
- Electronic flasher relay if the vehicle uses a replaceable relay
- CANbus decoder if the vehicle monitors lamp load
- Multimeter for voltage and continuity checks
- Trim tools and basic hand tools for access to the lamp housing
- Confirm the bulb base and fitment in the owner manual or lamp chart.
- Check whether the vehicle uses a separate flasher relay, body-module control, or a sealed electronic module.
- Inspect the socket, ground, and connector for corrosion, heat damage, or loose terminals.
- Check whether the problem affects one side only or both sides.
- Look for dash warnings, stored fault codes, startup flicker, or flicker that repeats while driving.
How the monitoring system changes the fix
Modern lamp-monitoring systems can use cold checks at ignition, warm checks while driving, and PWM dimming for DRLs or position lights. Cold checks send short test pulses at startup. Warm checks repeat periodically while driving. PWM dimming can make LEDs visibly flicker even when the bulb is fine.
If the vehicle only objects to low current, coding or a decoder may solve it. If the flasher sets blink speed from load, a relay swap is the cleaner answer. A resistor is the fallback, not the first choice.
Why is my turn signal flashing fast?
Fast flash means the system sees the wrong load, but the cause is not always the LED bulb. One-side-only hyper flash often points more toward a bulb, socket, ground, or wiring issue on that corner. Both sides flashing fast after a swap usually points to a load-detection issue in the vehicle or a mismatch between bulb type and circuit.
One side only versus both sides
- Swap the left and right bulbs if the bases match.
- Check the affected socket for moisture, bent pins, and corrosion.
- Measure continuity from socket ground to chassis ground.
- Recheck the flash rate after each change.
Say your left rear turn signal flashes fast after a 7443 LED swap, but the right side stays normal. If the fault follows the bulb, the bulb or its built-in driver is the likely issue. If the fault stays on the left socket, the wiring or ground path is the better suspect.
Replacement bulb versus complete LED assembly
Complete LED headlight or taillight assemblies can trigger warnings too, but the fix path differs from a bulb swap in a halogen housing. A full assembly often uses its own driver and may need coding, a decoder, or module configuration. A bulb replacement in a halogen housing more often needs relay replacement, coding, or load matching.
Complete LED assemblies are more likely to be sensitive to vehicle-network checks, while replacement bulbs are more likely to expose a simple current mismatch.
Fault code present versus no fault code
If a scan tool shows lamp fault codes, fix the circuit side first. Stored codes after rain, vibration, or a recent bulb swap often mean an intermittent connection, not a bad LED. If there is no code and only a fast blink, the platform may simply be using current-based monitoring that needs coding or relay changes.
How do you fix hyper flash without a resistor?
Start with the vehicle’s control method, not the bulb type. The cleanest no-resistor fix is coding when the body module allows lamp monitoring to be changed. On older cars with a replaceable flasher, an electronic flasher relay is often the best choice. On some monitored modern vehicles, a CANbus decoder may stop warnings, but it will not fix every flash-rate problem.
Step 1: Confirm the bulb type and lamp circuit
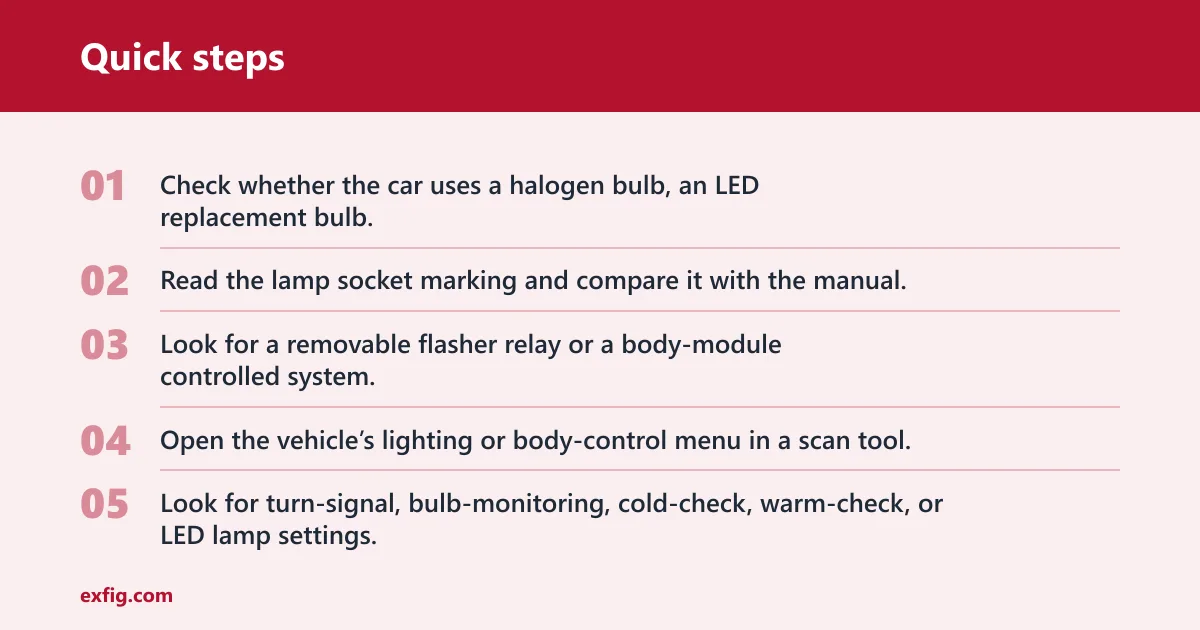
- Check whether the car uses a halogen bulb, an LED replacement bulb, or a complete LED lamp assembly.
- Read the lamp socket marking and compare it with the manual.
- Look for a removable flasher relay or a body-module controlled system.
Step 2: Check whether coding is available for your vehicle
- Open the vehicle’s lighting or body-control menu in a scan tool.
- Look for turn-signal, bulb-monitoring, cold-check, warm-check, or LED lamp settings.
- Set the lamp type to LED or disable the specific warning for that circuit if the platform allows it.
Step 3: Swap in an electronic flasher relay on older vehicles
- Remove the original relay from the fuse box or relay panel.
- Install an electronic, load-independent replacement with the correct pinout.
- Test the hazards and turn signals before reassembling the trim.
Step 4: Add a CANbus decoder only when the vehicle monitors lamp load
- Choose a decoder made for the bulb base and circuit type.
- Install it per the harness layout and keep it clear of heat-sensitive parts.
- Recheck for warnings after cold start and after several minutes of driving.
Hyper flash decision table
This table maps the symptom and platform to the best no-resistor fix first. Use the resistor fallback only if coding, relay replacement, or a decoder does not fit the vehicle.
| Symptom + vehicle type + lamp type | Likely cause | Coding available? | Electronic flasher relay applies? | CANbus decoder helps? | Resistor fallback |
|---|---|---|---|---|---|
| Fast flash after LED bulbs in an older car with a plug-in relay | Relay timing expects halogen load | No | Yes | Usually no | Use only if the relay cannot be replaced |
| Fast flash after LED bulbs in a modern CANbus vehicle with dash warning | Load monitoring sees low current | Often yes | No | Yes, if designed for that circuit | Fallback if coding and decoder both fail |
| Brief flicker at startup on LED bulbs with no flash-rate change | Cold check test pulses | Often yes | No | Sometimes | Only if the platform cannot disable cold checks |
| Periodic flicker while driving on LED bulbs | Warm check pulses or PWM dimming | Often yes | No | Sometimes | Only after coding options are exhausted |
| One-side-only fast flash after a new LED bulb | Bad socket, ground, or wrong base | No | No | No | No; fix the wiring fault first |
| Complete LED taillight assembly with lamp warning | Module mismatch or coding issue | Often yes | No | Maybe, depending on the kit | Fallback only if the assembly documentation calls for it |
Do you need an electronic flasher relay?
An electronic flasher relay is often the right answer when the vehicle uses a timing-based flasher and the LED swap changed the load. It is load-independent, so it fixes the blink rate without adding heat. On older cars, that makes it a better fix than a resistor when the relay is replaceable.
When relay swaps beat load resistors
- Check whether the relay is a separate, serviceable part.
- Match the pin count and pinout exactly.
- Install the new relay and verify normal flash rate with hazards and turn signals.
Picture a 12 V older sedan with plug-in flashers and 1157 LED bulbs. If the relay is removable, replacing it with an LED-compatible unit avoids the heat and wiring of a resistor and keeps the system simple.
When relay replacement will not help
If the flash rate is controlled by the body module, a relay swap may do nothing. That is common on newer vehicles where lamp monitoring, cold checks, warm checks, or PWM are handled in software. In that case, coding or a decoder is the more direct path.
Common mistakes
Several mistakes create repeat failures or hide the real fault. A resistor can calm the blink rate, but it does not fix a corroded socket, a weak ground, or a wrong bulb base. It also wastes power as heat, which is the tradeoff for forcing the circuit to look like a halogen load.
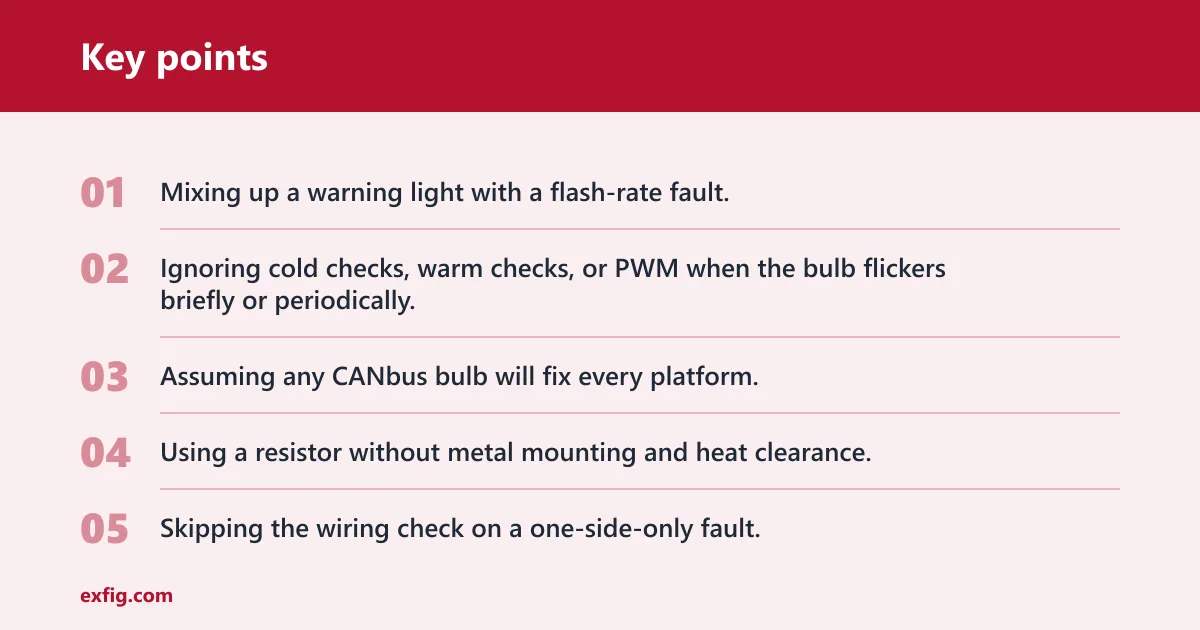
- Mixing up a warning light with a flash-rate fault.
- Ignoring cold checks, warm checks, or PWM when the bulb flickers briefly or periodically.
- Assuming any CANbus bulb will fix every platform.
- Using a resistor without metal mounting and heat clearance.
- Skipping the wiring check on a one-side-only fault.
A common first-timer mistake is to blame the LED bulb when the socket was already corroded. If rain makes the warning come and go, dry the connector, inspect the seal, and check the ground before changing parts again.
If a resistor is still the only workable fallback, the common pattern is a 6 ohm, 50W part wired in parallel. Mount it on metal away from plastic, because it is typically used in a way that can generate significant heat. That is the cost of simulating halogen load.
What is the safest way to install a load resistor for LED indicators?
Use the resistor only when coding, relay replacement, or a decoder is not available. Wire it in parallel with the lamp circuit, not in series. Mount it on a metal surface away from plastic, wiring looms, and sound-deadening material, because the part gets hot during operation.
- Identify the two lamp wires for the affected side.
- Connect the resistor across the positive feed and ground in parallel.
- Bolt the resistor to bare metal with air space around it.
- Recheck flash rate, warning lights, and surface temperature after several minutes.
Frequently asked questions
How do I fix hyper flash without adding a resistor?
Use the platform’s native fix first: code the lamp type to LED, replace a removable flasher relay with an LED-compatible unit, or add a decoder when the body module only needs load confirmation. That path avoids heat and usually solves the blink-rate problem more cleanly than a resistor.
Can I stop hyper flash by coding the car instead of using load resistors?
Yes, if the body module supports lamp coding. Look for turn-signal, bulb monitoring, cold-check, or warm-check settings in the scan tool. If those options are present, coding is usually the cleanest no-resistor fix because it changes how the car monitors the lamp instead of forcing extra load.
Do I need a flasher relay for LED turn signals?
Only if the vehicle uses a replaceable, timing-based flasher. In that case, an electronic relay is often the best swap because it is load-independent. If the body module controls the lamps directly, a relay will not help and coding or a decoder is the better path.
Will a CANbus decoder fix hyper flash and bulb-out warnings?
It can suppress warnings on many monitored vehicles, especially where the system expects halogen current. It does not fix every flash-rate problem, and it may not solve PWM flicker or a bad ground. Check whether the decoder is made for the specific base and circuit.
Why does my car hyper-flash on one side only?
One-side-only fast flash usually points to a local fault, not a general LED mismatch. Check the bulb, socket, ground, connector pins, and moisture intrusion on that corner first. If the fault follows the bulb, replace it; if it stays with the socket, fix the circuit.
Can complete LED headlight or taillight assemblies still trigger hyper flash?
Yes. Full assemblies can still trigger warnings if the vehicle’s body module expects a different load or communication pattern. The fix is often coding or a vehicle-specific decoder, not the same approach used for a halogen housing with LED replacement bulbs.