
How to Install a Dashboard Phone Mount Without Damaging the Dash

A quick compatibility check can be done in about 60 seconds: use suction only on smooth, hard plastic; use a removable adhesive pad on textured or curved surfaces; avoid vinyl-softened or airbag-cover panels. Bad placement can leave rings, pulled trim, or a mount that drops in heat. This guide gives the 60-second compatibility test and the safest install method for each dash surface.
Before you start
Check the mount type in your hand before it touches the dash. Suction generally works best on smooth, flat plastic. Adhesive generally works best when the surface is clean, dry, and stable. Vent mounts avoid dashboard contact entirely, which is often the safest route for a leased car or a delicate interior.
Then scan the target area for airbag covers, instrument clusters, decorative panels, and spots that sit in strong direct sun. Those zones can fail in different ways: heat softens retention, trim marks easily, and airbags need clear deployment space.
Confirm the dash area is cool and clean. A hot panel can weaken suction and adhesive at the same time, while cleaner residue or silicone dressing can prevent either one from holding.
What you’ll need
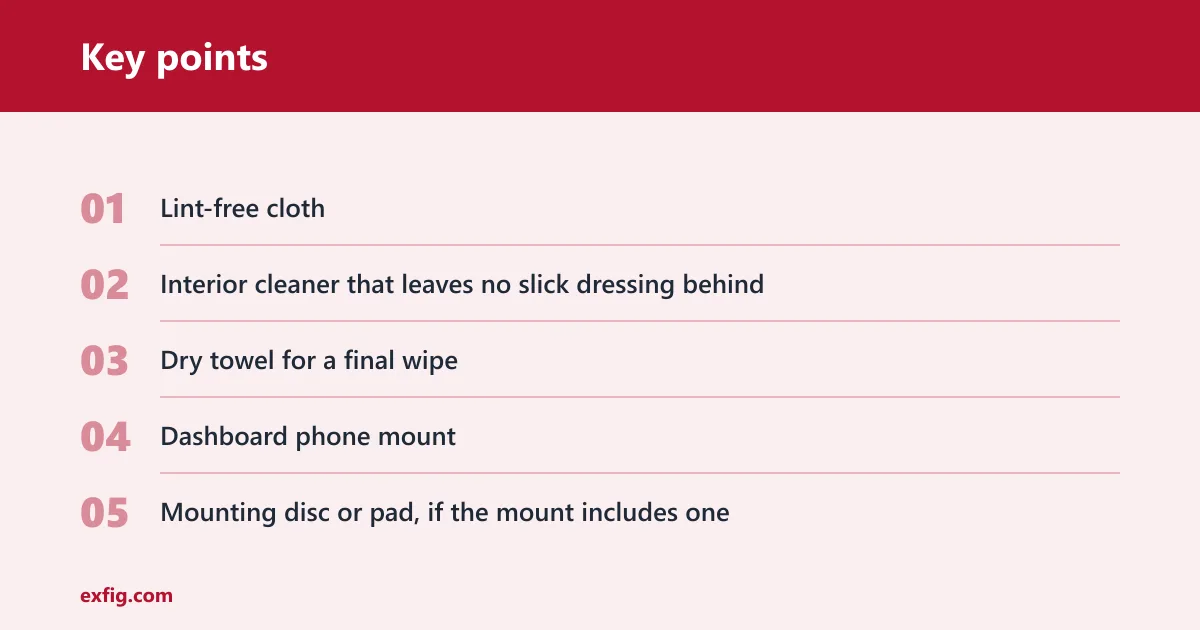
- Lint-free cloth
- Interior cleaner that leaves no slick dressing behind
- Dry towel for a final wipe
- Dashboard phone mount
- Mounting disc or pad, if the mount includes one
- Automotive-grade adhesive pad, if the mount uses adhesive
- Warm water and mild detergent for suction-cup cleanup
- Clean workspace and time for drying or curing
Dashboard compatibility checklist
Use this check before you commit to any adhesive or suction base. Hard plastic, soft-touch coatings, stitched trim, and textured panels react differently, so the safest mount changes with the surface. A clean install depends on prep discipline, not luck.
| Surface type | Safest mount type | Prep needed | Cure time | Removal risk |
|---|---|---|---|---|
| Smooth hard plastic or glossy trim | Suction cup or removable adhesive | Clean, dry, residue-free wipe | None for suction; 24 to 72 hours for adhesive | Low to moderate |
| Soft-touch coating | Vent mount first; adhesive only after careful spot check | Remove dressing and confirm finish is firm | 24 to 72 hours if adhesive is used | Moderate to high |
| Stitched trim | Vent mount | Do not attach to stitching or decorative seams | Not recommended | High |
| Textured panel or heavily grained plastic | Vent mount or a disc on a smoother nearby section | Clean thoroughly, then recheck flatness | 24 to 72 hours if adhesive is used | Moderate |
| Curved or heat-sensitive area | Vent mount or repositioned suction on a flatter spot | Choose a cooler, flatter area away from sun | None for vent; 24 to 72 hours if adhesive is used | Moderate |
Three decision branches
Branch 1: If the spot feels smooth and hard, suction is usually the cleaner choice. F1 says suction mounts can be safer than permanent adhesive on smooth surfaces.
Branch 2: If the spot is textured, curved, or heat-sensitive, shift to a vent mount or a removable adhesive pad on a flatter nearby area.
Branch 3: If the trim is soft-touch, stitched, or fragile, avoid direct dash contact and use vent-only mounting instead. F8 says vent-only mounting avoids dashboard contact entirely.
How do you install a dashboard phone mount without damage?
Clean the dash fully, match the mount to the surface, and give the base time to bond before loading a phone. Start with a cool, residue-free spot, pick the mount that fits that material, and decide how you will remove it before the first press.
Step 1: clean the spot fully
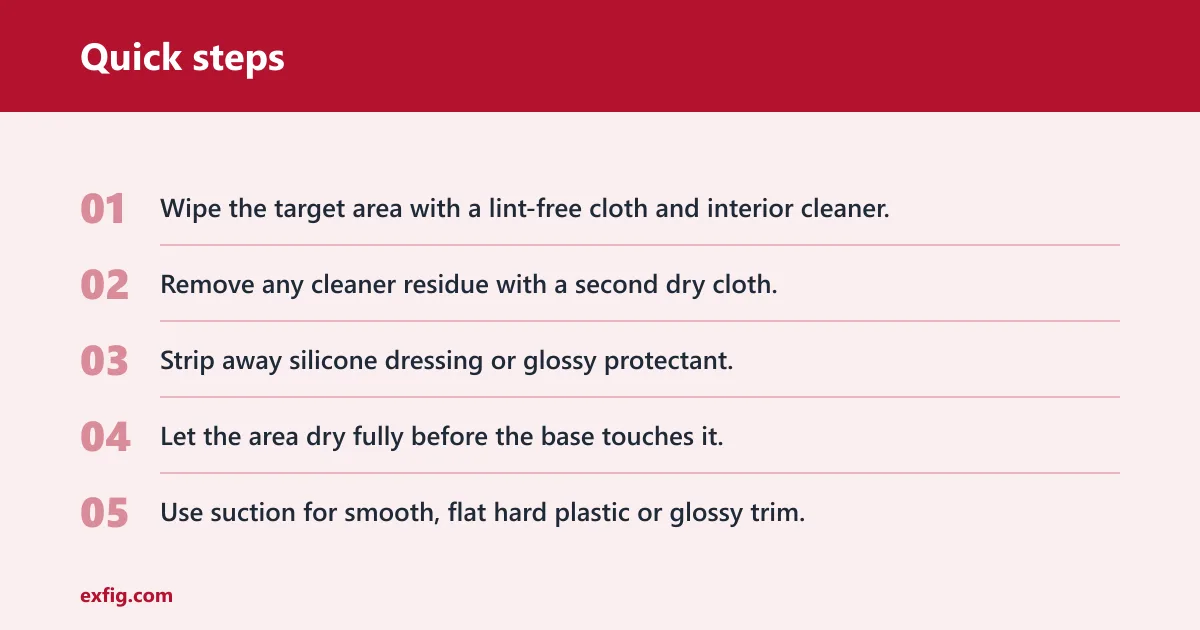
- Wipe the target area with a lint-free cloth and interior cleaner.
- Remove any cleaner residue with a second dry cloth.
- Strip away silicone dressing or glossy protectant.
- Let the area dry fully before the base touches it.
Step 2: choose the mount method
- Use suction for smooth, flat hard plastic or glossy trim.
- Use automotive-grade adhesive only on a compatible, dry surface.
- Use a vent mount if the dash is textured, stitched, or delicate.
- Do not force suction cups onto heavily grained plastic, stitched trim, or curved surfaces.
Step 3: press, lock, or place the mount
- Set the base squarely on the chosen spot.
- Press suction cups firmly, then close the locking lever.
- If the mount uses adhesive, press it down evenly and keep it still.
- If the kit includes a disc, install it flat and centered before attaching the arm.
Some mounts need a mounting disc to create a cleaner contact patch. The Spigen Air Vent Magnetic Car Mount Phone Holder uses a flat circular surface and neodymium magnet, and it includes two plates: a circle and a rectangle. That layout helps when the mount body needs a stable attachment surface.
Step 4: wait before loading the phone
- Leave adhesive mounts unloaded for 24 to 72 hours when the maker calls for cure time.
- Use the mount lightly first, then recheck grip after the first drive.
- Only add phone weight after the base stays fixed in heat and vibration.
A common first-timer mistake is putting a phone on a fresh adhesive pad within minutes. On a hot dash, the pad can creep before it finishes curing. On a cool morning, it may seem fine, then loosen once the cabin warms.
Is suction or adhesive safer for a car dashboard mount?
Suction is usually the safer choice on smooth, flat surfaces because you can move it and remove it with less chance of surface damage. Adhesive is better when the mount must sit low and stay put, but it needs proper prep, the right temperature, and a cure window before use.
When suction is the safer choice
Choose suction on smooth hard plastic or glossy trim when the mount may need to move later. Press it firmly and lock it in place with its lever. If the base keeps failing, a mounting disc can help on a nearby flat area, but avoid heavily grained plastic and curved surfaces.
When adhesive is the safer choice
Choose adhesive when you want a low-profile setup and the dash surface passes the compatibility check. Use reputable 3M automotive adhesive, not a cheap glue pad. Install in moderate temperatures, because heat and cold both change how well the pad bonds.
Do not peel and reset adhesive pads over and over. That raises residue risk and weakens the bond. Waiting 24 to 72 hours before placing the phone on the mount.
When a vent mount is better
Vent-only mounting avoids dashboard contact entirely. That is often the least invasive choice for a leased car, a glossy trim panel, or a dash with stitched decorative pieces. The limit is the vent itself: weak, round, or delicate vents may not hold the weight well.
Where should you put it?
Put the mount where it stays clear of airbags, controls, and the hottest sun patches, while still keeping the phone easy to see. Placement matters as much as the mount type, because even a good base can fail if the area is fragile, curved, or exposed to constant heat.
Safe zones on the dashboard
Look for a flat section of hard plastic within easy reach, but away from the steering wheel sweep and away from the instrument cluster. A flat area beside the center stack is often better than a high, sloped section that bakes in the sun.
Places to avoid for visibility and safety
Avoid airbag covers, fragile trim pieces, stitched decorative panels, and any area that blocks gauges or touch controls. F7 says to avoid fragile trim pieces, stitched decorative panels, and airbag covers. That warning matters even if the mount seems secure at first.
How sun exposure changes placement
Strong direct sun can sometimes soften adhesives and put extra stress on suction cups. F11 notes that a windshield suction cup mount can overheat a phone in the sun, and the same cabin heat can affect dash-mounted hardware. If a panel gets hot to the touch, move the mount lower or pick a vent location instead.
Suppose a compact sedan has a smooth center dash but the top shelf above the radio gets direct afternoon sun. The safer move is to shift the mount to the shaded lower section or to a vent mount, rather than trusting the hotter upper surface.
Common mistakes
These are the failures that usually create marks, slips, or residue. Fix them before the mount goes on, and the install is far easier to remove later.
Bad install rescue for adhesive mounts
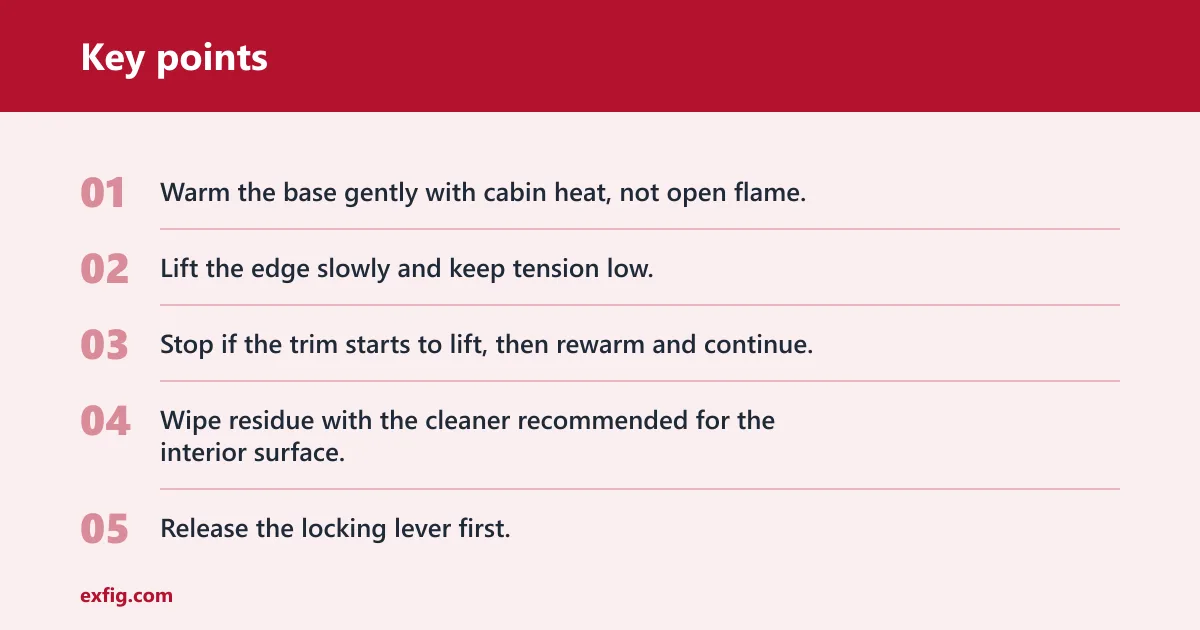
- Warm the base gently with cabin heat, not open flame.
- Lift the edge slowly and keep tension low.
- Stop if the trim starts to lift, then rewarm and continue.
- Wipe residue with the cleaner recommended for the interior surface.
If adhesive leaves a mark, do not scrape hard plastic with a blade. That can turn residue into a permanent cosmetic scratch. On some mounts, a fresh pad is better than reusing a damaged one.
Bad install rescue for suction mounts
- Release the locking lever first.
- Break the seal with a slow edge lift.
- Wash the suction cup with detergent and water, then let it dry.
- Reinstall only on a cleaner, flatter spot.
F12 says a Sticky Pad can be restored by washing it with detergent and water. That same idea applies to many suction bases that have lost grip because of dust, dressing, or heat-softened residue.
Bad install rescue for vent mounts
- Support the mount with one hand before pulling it free.
- Loosen the vent hooks before you pull straight back.
- Move to a sturdier vent if the first set flexes or sags.
- Do not hang extra weight from a weak or round vent.
For a lease return or resale prep, removal matters as much as installation. Warm the base gently, remove slowly, and clean the area once the mount is off. That keeps cosmetic marks and residue from spreading into a larger repair job.
Picture a soft-touch dash with a glossy mount ring left behind after a summer week. The safer rescue is to warm the pad, peel slowly, and then clean the area twice rather than forcing a fast pull that tears the coating.
Frequently asked questions
Will a dashboard phone mount damage a soft-touch dashboard?
It can, if the mount is attached directly to a coated panel without a surface check. Soft-touch trim can mark more easily than hard plastic, so use vent mounting first. If adhesive is the only option, test a hidden area, clean away dressing, and allow full cure time before use.
How do you remove a dashboard phone mount without residue?
Warm the base gently, remove it slowly, and do not yank from one corner. For suction bases, release the lever and wash the cup with detergent and water afterward. For adhesive, use a steady peel and then wipe the spot with an interior cleaner that removes leftover film.
Can you use a dashboard phone mount on a textured dash?
Sometimes, but not with every mount. Suction does poorly on heavily grained plastic and curved surfaces. On a textured dash, the safer route is a vent mount or a low-profile adhesive pad on the flattest nearby section after a clean, dry prep.
What kind of cleaner should you use before installing a car phone mount?
Use a lint-free cloth with an interior cleaner that removes dirt, then follow with a dry wipe to clear residue. Also remove silicone dressing before the mount goes on. The surface must be fully dry, or suction and adhesive both lose grip.
How long should you wait before using an adhesive dashboard mount?
Wait 24 to 72 hours when the manufacturer calls for cure time. That window gives automotive-grade adhesive a better chance to bond before the phone adds weight and vibration. Moderate temperatures are best during that period, since heat or cold can change the bond.
What is the safest phone mount for a leased car?
A vent mount is usually the safest because it avoids dashboard contact entirely. If the vents are weak or round, a suction mount on smooth hard plastic may still be better than adhesive, as long as the area is flat, cool, and clear of airbags and controls.
Can heat damage a dashboard phone mount installation?
Yes. Heat can weaken suction, soften adhesive, and make a phone overheat if the mount sits in direct sun. Put the mount in a shaded area, avoid the hottest dash panels, and choose a vent mount when the interior gets extreme sun exposure.