LED Load Resistor vs Flasher Relay: Which Is Better?

A flasher relay is the better fix when your vehicle uses a replaceable thermal or electronic flasher module; a load resistor is the fallback for BCM- or integrated-flasher systems, but it wastes power as heat and needs careful mounting. Pick the wrong part and you can keep hyper flash, trigger bulb-out warnings, or overheat the resistor and wiring. This guide helps you identify the circuit you have, choose the lower-risk fix, and plan the install.
| Decision factor | LED load resistor | flasher relay | Winner |
|---|---|---|---|
| Works with a replaceable flasher | Yes, but usually not the first choice | Yes, when the socket and pin count match | flasher relay |
| Heat and electrical waste | High; it simulates halogen load by burning power off as heat | Low; it changes timing rather than adding load | flasher relay |
| Install effort | Medium to high; requires wiring in parallel and safe mounting | Low on compatible vehicles; often a simple plug-in swap | flasher relay |
| BCM-integrated systems | Often works where relay swaps do not | Usually blocked if the flasher logic sits inside the BCM | LED load resistor |
| Reversibility | Good if wired cleanly, but it adds extra hardware | Very good on plug-in applications | flasher relay |
| Best use case | Keep the stock flasher, or fix BCM and CANbus complaints that need added load or a decoder | Replace the OEM flasher module in a vehicle with a matching 2-pin or 3-pin socket | Depends on vehicle architecture |
Why LEDs trip the stock circuit
LED turn-signal bulbs draw less current than halogen bulbs. A standard halogen turn-signal bulb typically draws about 21W at 12V, while LED turn signals often draw only 2-5W. That current drop is what makes a stock thermal flasher speed up or makes an electronic system think a bulb failed.
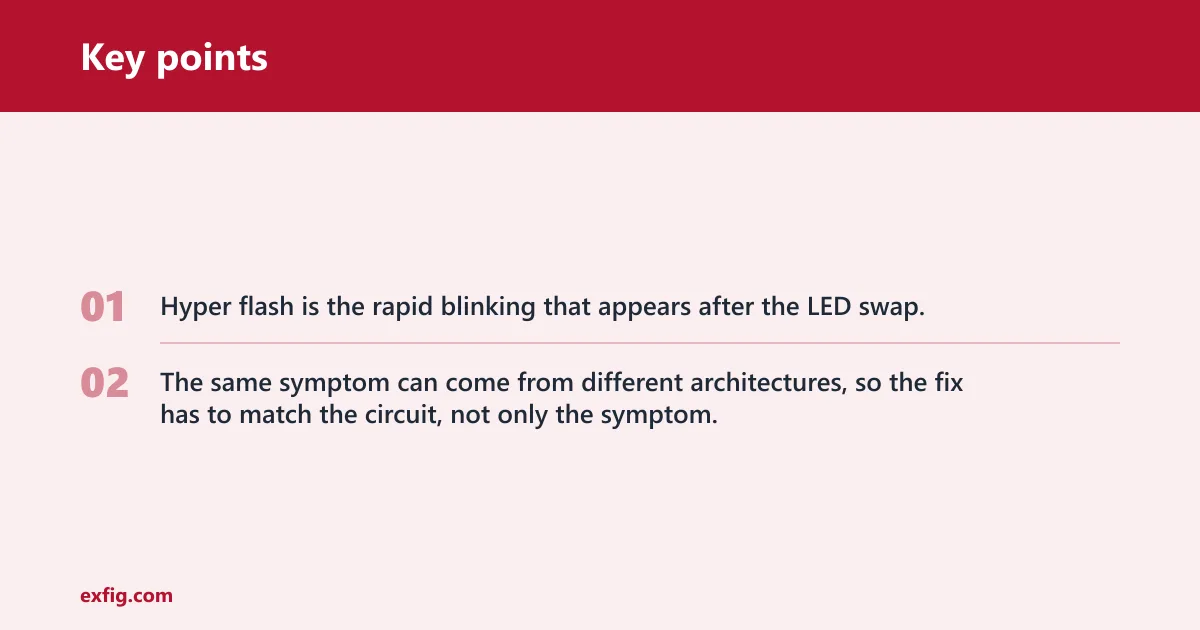
Hyper flash is the rapid blinking that appears after the LED swap. It can be 2-4x the standard blink rate, and on some cars it also shows up with a bulb-out warning. The same symptom can come from different architectures, so the fix has to match the circuit, not only the symptom.
Resistor vs relay at a glance
The core trade-off is simple. A load resistor keeps the factory flasher behavior by pretending to be a halogen bulb, while a flasher relay changes the timing unit itself. One adds heat and wiring; the other depends on having a replaceable flasher with the right socket.
How each fix changes flash rate
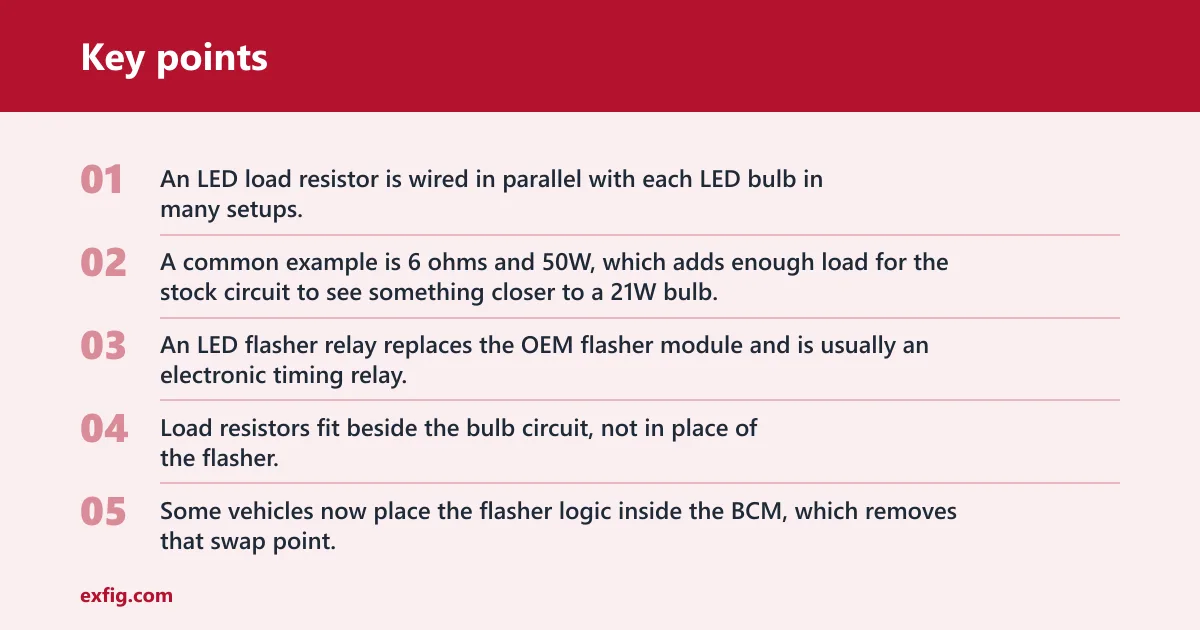
An LED load resistor is wired in parallel with each LED bulb in many setups. A common example is 6 ohms and 50W, which adds enough load for the stock circuit to see something closer to a 21W bulb. It does not change timing; it changes the electrical load the flasher senses.
An LED flasher relay replaces the OEM flasher module and is usually an electronic timing relay. Flashers may operate at about 60-120 blinks per minute, and LED-compatible relays are built to hold that rate without relying on bulb current the way a thermal unit does.
Where each fix fits in the circuit
Load resistors fit beside the bulb circuit, not in place of the flasher. They are useful when the stock flasher stays in the vehicle, especially if the flasher is part of a larger module or if the circuit still needs normal load for dash logic.
Relay swaps fit at the flasher socket. That only works when the vehicle has a removable flasher module and the pin layout matches the replacement. Some vehicles now place the flasher logic inside the BCM, which removes that swap point.
Main trade-off: heat versus plug-in simplicity
Resistors are less efficient because they burn off the extra current as heat. They also need metal mounting away from plastic, tape, and wiring insulation. That makes them a valid fix, but not a casual one.
A flasher relay is cleaner when it fits. On compatible cars, it can be a simple plug-in replacement. That is why it is usually the first pick for older vehicles with a separate flasher module.
Which vehicles can use a relay?
A flasher relay works when the vehicle has a replaceable OEM flasher and the replacement matches the socket. That is the key limit. If the turn-signal logic is inside the BCM, a relay swap usually will not solve hyper flash or bulb warnings.
Older vehicles with a replaceable 2-pin flasher
Two-pin flashers are commonly found in older vehicles. They use a two-terminal replacement, and the pin layout must match the OEM part. If the socket is correct, this is often the cleanest LED fix.
Vehicles that use a 3-pin relay
Three-pin flashers are used where turn and hazard circuits differ. The terminal mapping matters, not just the housing shape. Some LED-compatible relays are offered in 3-pin form, and some are rated for up to 25 amps, but the socket still has to line up.
When a BCM blocks the relay swap
Many newer vehicles place flasher logic inside the BCM. In that case, a relay replacement may not exist as a separate service part, or it may not control the blink rate at all. For those vehicles, resistors or decoders are often the practical fix.
Suppose a pickup has hyper flash after an LED swap, but the fuse box has no removable flasher can. That points away from a relay and toward a resistor or decoder strategy, because the circuit’s timing is being handled somewhere else.
When is a resistor the better fix?
A resistor is the better fix when the stock flasher must stay in place, when the vehicle uses BCM-integrated logic, or when you need to preserve factory behavior with the least circuit change. It is also the fallback when the socket, pin count, or control logic makes a relay swap impossible.
Stock flasher kept in place
If the vehicle already has a flasher that works and you only need to stop hyper flash, a resistor can restore the expected load. This is the common route on vehicles where the turn signal and hazard circuits are not friendly to plug-in relay swaps.
Mixed LED and incandescent circuits
Mixed bulb circuits can complicate relay swaps because the circuit may still expect a certain draw on one side or one function. A resistor lets you correct only the affected lamp circuit. That matters when one end of the vehicle is LED and the other end is still incandescent.
Reversible installs and low-cost fixes
Resistors are often chosen for low-cost, reversible installs where the owner wants to keep the original flasher hardware. The trade-off is extra wiring and heat. A clean install still needs a solid mounting point and proper splicing.
Load resistor decision table
This table maps common vehicle setups to the fix that fits best. Use the stock flasher type, pin count, and symptom first. Then pick the least intrusive solution that still solves the circuit fault.
| Stock flasher type | Pin count | Symptom | Recommended fix | Install effort | Heat/reliability notes |
|---|---|---|---|---|---|
| Thermal flasher | 2 | Hyper flash | flasher relay | Low | Best choice if the socket matches; no added heat load |
| Electronic flasher | 3 | Hyper flash | flasher relay | Low | Use the correct terminal mapping; timing-only fix if the module is separate |
| BCM-integrated | 2 or 3 | Hyper flash | LED load resistor | Medium | Common fallback when the flasher is inside the BCM; mount on metal |
| BCM-integrated | 2 or 3 | Bulb-out warning | decoder | Medium | Some CANbus systems need monitoring help, not just timing changes |
| Thermal or electronic flasher | 2 | No flash | flasher relay | Low | Check polarity and pin order; a wrong relay can fail to pulse |
| Thermal or electronic flasher | 3 | Buzzing | flasher relay | Medium | Buzzing often points to a mismatch in the relay type or terminal mapping |
| Stock flasher kept | 2 or 3 | Hyper flash | LED load resistor | Medium | Typical 6 ohm / 50W part; one per bulb in many setups, wired in parallel |
| CANbus vehicle | 2 or 3 | Bulb-out warning | decoder | High | Flash timing alone may not solve digital lamp monitoring faults |
How hot do LED load resistors get?
Very hot. A 6 ohm / 50W resistor is designed to dissipate a fair amount of heat, and that heat is the point of the part. Mount it on metal, away from plastic trim, tape, and anything that can soften or melt.
A common first-timer mistake is wrapping the resistor in electrical tape to “tidy” the install. That traps heat and defeats the design. Use a metal mounting surface and keep the leads short enough to avoid dangling near moving parts.
Will a flasher relay fix hyper flash on my vehicle?
Yes, if your vehicle has a replaceable flasher module and the relay matches the socket. No, if the flash logic is buried in the BCM or if the relay type does not match the terminal layout. Hyper flash is a symptom; the circuit architecture decides the fix.
Pin count and terminal mapping
LED-compatible relays can be 2-pin or 3-pin. Match the pin count first, then confirm the terminal mapping and voltage. A relay that fits loosely or maps the terminals wrong may produce no flash, erratic flash, or buzzing.
Electronic timing relays and flash rate
An electronic timing relay keeps the blink rate consistent even when LED bulbs draw far less current. That is why it is often the cleanest fix on older vehicles with a removable flasher. It addresses the timing issue directly instead of pretending the bulb still draws halogen-level current.
Cases where timing changes do not solve bulb monitoring
CANbus vehicles may still throw a bulb-out warning after a relay swap, because the body module is checking lamp current or circuit status digitally. In those cases, a decoder-equipped bulb or a separate decoder is often needed. Flash timing alone does not always satisfy the monitoring logic.
Choose LED load resistor if… / Choose flasher relay if…
Choose LED load resistor if the flasher is inside the BCM, the stock module is not replaceable, or you are correcting a CANbus or mixed-circuit warning that still needs added load or a decoder. Choose flasher relay if the vehicle has a separate 2-pin or 3-pin flasher socket and you want the least invasive, coolest-running fix.
- Choose LED load resistor if the vehicle has BCM-integrated flasher logic.
- Choose LED load resistor if you need to keep the original flasher and only correct LED hyper flash.
- Choose LED load resistor if you can mount parts on metal and accept the added heat.
- Choose flasher relay if the socket is a matching 2-pin or 3-pin replacement.
- Choose flasher relay if you want a plug-in solution with lower heat and easier reversal.
- Choose flasher relay if the owner manual or service manual lists a removable flasher module.
- Identify the flasher. Check the owner manual or service manual for the turn-signal module location. If it is in the BCM, skip relay shopping and move toward resistors or decoders.
- Count the pins. Confirm whether the socket is 2-pin or 3-pin before you buy anything. The replacement must match the pin layout and terminal mapping, or the circuit may not pulse correctly.
- Match the symptom. Hyper flash usually points to low current draw, while bulb-out warnings often point to monitoring logic. Use that to decide whether you need load, timing, or both.
- Plan the mounting. If you choose a resistor, mount it on metal and keep it away from plastic and wiring. If you choose a relay, confirm that the replacement is rated for the vehicle and plugs in cleanly.
Frequently asked questions
Is a load resistor better than a flasher relay for LED turn signals?
No, not in general. A flasher relay is usually better when the vehicle has a replaceable flasher module because it fixes the timing without adding heat. A load resistor is the fallback when the flasher is inside the BCM or the relay swap is not available.
When should I use a resistor instead of an LED flasher relay?
Use a resistor when the stock flasher stays in place, when the vehicle has BCM-integrated flasher logic, or when you need a fix that preserves the original module. It is also the practical choice for some CANbus complaints that need added load or a decoder, not only a timing change.
Do I need one resistor per LED bulb?
In many setups, yes. Because the resistor is wired in parallel with each LED bulb, a separate resistor is often used for each affected turn-signal lamp. That keeps the circuit load where the flasher expects it and avoids guessing with one part on multiple lamps.
Can I replace my stock flasher with an LED-compatible relay?
Yes, if the vehicle uses a separate, replaceable flasher and the new relay matches the socket. LED-compatible relays come in 2-pin and 3-pin versions, so the pin count and terminal mapping must line up. If the flasher is inside the BCM, a relay swap usually will not work.
What if my car’s flasher is built into the BCM?
Then a relay swap is usually off the table. In that case, a load resistor is often the best fix, or a decoder if the issue is a bulb-out warning on a CANbus system. Check the service manual before buying parts so you do not end up with an incompatible relay.
Which option is easier to install, resistor or relay?
Relay, when compatible. A plug-in flasher swap is usually simpler than wiring a resistor in parallel and finding a safe mounting point. A resistor takes more effort because it needs splicing, placement, and heat management.
Will an LED flasher relay work on a 2-pin or 3-pin socket?
Yes, but only if the relay is built for that exact socket type. LED-compatible relays are sold in 2-pin and 3-pin versions, and the pin layout must match the OEM part. A mismatch can cause no flash, buzzing, or a wrong blink rate.