
Dash Cam Installation: How to Install It Right

Mount the dash cam high behind the rearview mirror, keep the lens level with about 60% road and 40% hood/sky, then match the power method to the job: a 12V socket for driving-only recording, a hardwire kit for parking mode. A poor install can block your view, cause voltage drop, overheat wiring, or leave you with footage that is unusable when you need it. This guide covers placement, cable routing, fuse-tap hardwiring, rear-camera runs, and the checks that stop recording failures.
What you’ll need
- Dash cam main unit
- Mount: adhesive pad or suction cup, depending on the model
- Power cable and the included cigarette lighter adapter, if using plug-in power
- Hardwire kit, if the camera and vehicle support it
- OBD power cable, if the camera maker offers one for the model
- Dedicated dash cam battery pack, if parked recording must avoid starter-battery drain
- Rear camera module, if using a front-and-rear setup
- Compatible microSD card in a supported size from 32GB to 256GB
- Trim tool
- Alcohol wipe or glass cleaner safe for the windshield area
- Cable clips, if the kit includes them or trim gaps are loose
- Fuse taps and the correct fuse format, if hardwiring
- Phone app, if the model uses Wi-Fi for setup or clip review
- Vehicle manual for fuse-box access and airbag locations
Where should you mount a dash cam?
Mount the front camera high on the windshield, ideally tucked behind the rearview mirror if local rules and your vehicle layout allow it. Keep the lens inside the wiper-cleared area, out of the driver’s sightline, and off tint bands, frit dots, and black-dot shading that can hurt adhesion or image quality.
Windshield rules that affect footage
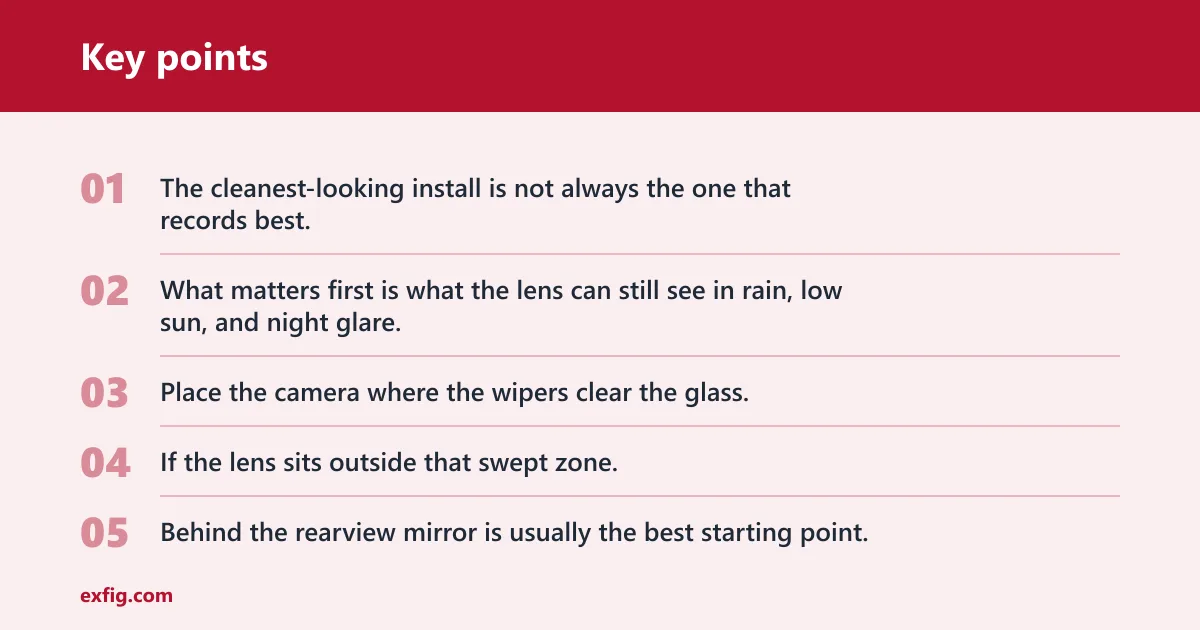
The cleanest-looking install is not always the one that records best. What matters first is what the lens can still see in rain, low sun, and night glare.
Place the camera where the wipers clear the glass. If the lens sits outside that swept zone, a film of rain and road grime can blur plates and taillights even when the rest of the windshield still looks acceptable.
Behind the rearview mirror is usually the best starting point, and Eyewitness Dashcams says that position is a safe option. It keeps the camera body out of your main forward view while giving the lens a centered road angle.
Do not stick the mount into the top sunshade band, the dark frit-dot border, or any tint strip. Eyewitness Dashcams warns that tint and black dots can reduce image quality. They can also weaken adhesive contact if part of the pad lands on textured dots instead of flat glass.
How mount type changes placement
Adhesive pad mounts usually stay steadier in heat and vibration. That matters because small shakes can turn readable plates into blur. They are harder to reposition, so dry-fit first from the driver seat before you peel the backing.
Suction cup mounts are easier to move between vehicles and can help if local rules limit permanent placement. They can lose grip in temperature swings, and even slight sag can shift the horizon enough to capture more hood than road.
A common first-time mistake is placing a suction mount partly on the dotted frit band because it hides well from outside. The usual result is a slow drop over a few days, then a tilted image and a cable that starts tugging on the power port.
Where rear, cabin, and rear-view variants belong
Nextbase lists three rear-camera types: rear window, rear view, and cabin view cameras. Each needs a different mounting spot.
A rear window camera mounts high on the back glass, centered if the defroster pattern and trim allow it. A rear-view add-on points through the cabin toward the back window, so headrests, cargo, and rear tint affect the image. A cabin camera should sit where it can see both front seats without the mirror stem or a sun visor blocking part of the frame.
How to install a dash cam correctly
If you need the practical installation sequence, this dash cam installation guide covers the full process from choosing hardwire versus 12V power to mounting the camera, routing cables, and confirming the system records properly. It’s the clearest next step once you’ve decided where the camera should sit and how you want it powered.
That matters because a rushed install can leave wires exposed, create battery drain, or result in a camera that powers on but never saves footage. The article also explains rear-camera setup and the final checks that help make sure your dash cam is ready before you drive.
Which power method fits your vehicle?
Use the cigarette lighter adapter for driving-only recording after you verify whether that 12V socket shuts off with the ignition. For parking recording, choose a hardwire kit, OBD power cable, or dedicated battery only if the camera supports parking mode and that power method can supply suitable parked power.
Plug-in power for driving only
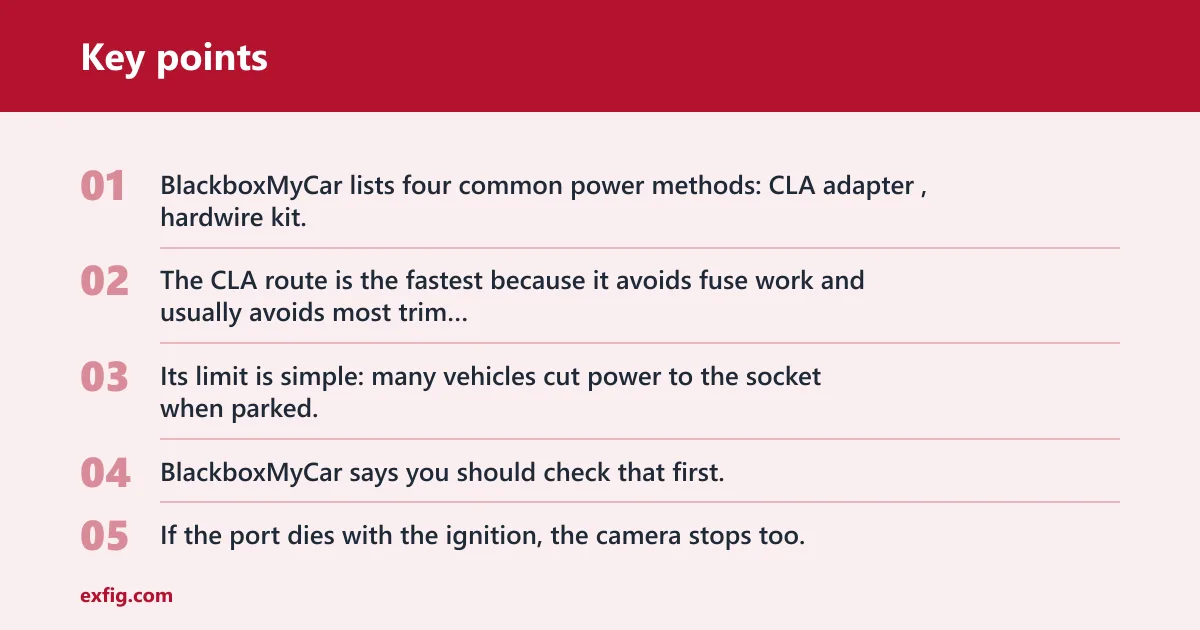
BlackboxMyCar lists four common power methods: CLA adapter, hardwire kit, OBD power cable, and dedicated battery. The CLA route is the fastest because it avoids fuse work and usually avoids most trim removal around the cabin.
Its limit is simple: many vehicles cut power to the socket when parked. The same source says you should check that first. If the port dies with the ignition, the camera stops too, and any parking mode setting in the app will make no difference.
Hardwire kit versus OBD cable
The same source says a hardwire kit connects to the vehicle’s electrical system. That is the usual pick when the camera needs continuous power, ignition sense, or a parking mode trigger. It also brings more install risk, because fuse type, fuse orientation, and low-voltage cutoff settings all matter.
An OBD cable is simpler if the camera maker supports it for that model. It avoids fuse taps, but it still draws from the vehicle while parked, so battery-protection settings still matter.
Say your commute is 25 minutes each way, the car sits on the street overnight, and you want impact clips while parked. A switched 12V socket will not handle that. A low-voltage-protected hardwire kit or a compatible OBD cable is the better fit.
When a dedicated battery pack makes more sense
A dedicated battery pack makes the most sense when parked coverage matters but starter-battery drain is not acceptable. That applies most clearly to rideshare vehicles, cars that sit for days, and vehicles already running several accessories.
The same source says parking recording needs suitable power. Suitable does not always mean drawing straight from the vehicle battery. In some setups, isolated battery packs are the cleaner fix because they charge while driving and power the dash cam after shutdown.
Dash cam installation decision table
Installation decision checklist
| Vehicle/use case | Parking recording needed? | Power source to check first | Safest install choice | What to verify before starting |
|---|---|---|---|---|
| Sedan, front-only commuter | No | Cigarette lighter adapter | Plug in and route along headliner to A-pillar trim | Whether the socket switches off with ignition; cable reaches windshield top cleanly |
| Sedan, front-and-rear commuter | No | Cigarette lighter adapter | Plug in if cable length reaches rear glass without stretching | Rear cable length; rear shelf and C-pillar trim path |
| Street-parked car | Yes | Hardwire kit or OBD cable | Use the camera’s supported parking-power option with voltage cutoff enabled | Fuse access or OBD compatibility; parked-power behavior; camera parking-mode support |
| Rideshare vehicle with cabin camera | Often | Hardwire kit, OBD cable, or dedicated battery | Choose power that supports long idle and parked sessions without draining the starter battery | Cabin camera placement, interior glare, battery protection setting |
| Hatchback or SUV, front-and-rear | No or yes | Plug-in for driving only; hardwire/OBD for parking | Leave slack at the moving hatch and keep wire clear of weather seals | Hatch movement path; rubber boot route; rear cable slack |
| Van or large SUV | Yes | Hardwire kit or dedicated battery | Use parked-capable power and confirm the rear cable run is long enough before mounting | Long cabin cable length; trim path around airbags; fuse-box access |
| Pickup truck with rear window camera | No or yes | Plug-in, hardwire, or dedicated battery | Measure cable route before sticking the rear mount; use a dedicated battery if long parked recording is needed | Rear-window distance; sliding rear glass; headliner gaps |
Pre-start checks
Before you loosen any trim, check five things: whether the 12V socket stays live when parked, where the side-curtain airbags run, which fuse format the car uses, whether the rear cable is long enough, and how the hatch or tailgate moves through its full range.
Also check local placement rules. Behind the mirror is often allowed, but legal limits on windshield-mounted devices vary.
Install the front camera
- Dry-fit the camera from the driver seat and confirm the lens sees the road, not mostly hood or sky.
- Mark the spot high behind the rearview mirror, inside the wiper-cleared area and outside the driver’s sightline.
- Clean the glass and let it dry fully before applying any adhesive pad.
- Mount the bracket on clear glass, not across tint bands, frit dots, or shaded edges.
- Press the adhesive evenly, or lock the suction cup with the maker’s lever if that mount type is used.
- Run the power cable along the headliner toward the nearest A-pillar.
- Tuck the cable only into trim gaps that do not cross side-curtain airbag deployment paths.
- Continue down the A-pillar edge, then under dash trim toward the power source.
- Connect the CLA adapter, OBD cable, hardwire lead, or battery-pack output.
- Start the vehicle and verify that the camera boots before fully hiding the last section of cable.
- Adjust the angle so the horizon looks level and the frame shows roughly 60% road and 40% hood/sky.
- Recheck after a short drive and tilt in 2-degree increments if glare or too much hood remains.
Safe wire routing around airbags and trim
The cable should sit behind trim edges, not across an airbag deployment path. On many vehicles, that means following the top edge of the headliner, then routing beside A-pillar trim rather than pushing wire deep behind the middle of it.
If the pillar trim has an airbag badge, stop and confirm the deployment path in the vehicle manual. Weather stripping can help hide the wire at the door frame, but do not force the seal outward enough to create wind noise or water gaps.
TechRadar says installation is usually straightforward unless it is hardwired. That tracks with the actual work: plug-in routing is mostly trim management, while hardwiring adds fuse selection and battery-protection setup.
When a plug-in install is enough
If you want the simplest setup, dash cam installation without hardwiring shows how to run power from a 12V socket or USB port and get the camera working fast. The article explains what you need, how to route the cable cleanly, and when this approach makes sense for everyday driving.
It also matters because a plug-in setup has limits: parking mode may not work once the car is off, and poor wiring or the wrong power source can leave you with a drained battery or an unreliable camera. That makes this guide useful for choosing between a quick install and a battery-pack solution before you commit.
Install the rear camera and hide the cable
- Choose the rear mount point based on camera type: rear window, cabin-facing, or rear-view add-on.
- Test the rear image before sticking the mount, because headrests and tint can block more than expected.
- Run the rear cable from the front camera across the headliner toward the passenger side.
- Follow upper trim and pillar edges to the back of the cabin, avoiding curtain-airbag paths.
- Leave extra slack at any moving hatch or tailgate before entering the rear door area.
- Keep the cable clear of weather seals, latch points, and sharp trim clips.
- Mount the rear unit high and centered where the lens sees through clean glass.
- Confirm the rear feed appears on the front unit or app before final cable tucking.
Routing notes by vehicle type
Sedans: The simplest path usually runs along the headliner, down the C-pillar edge, and onto the rear glass. Watch the rear shelf trim and any curtain-airbag areas.
Hatchbacks and SUVs: Cable failure often starts at the moving hatch. Leave a service loop, open and close the hatch several times, and keep the wire clear of the rubber weather seal so it does not get pinched flat over time.
Vans and larger SUVs: Measure cable reach before mounting anything. Long cabins create a basic problem many guides miss: some bundled rear leads simply do not reach the planned route unless you choose a cleaner path along the opposite side.
Trucks: Rear-window distance and any sliding rear glass can complicate mounting. If the camera uses a short rear lead, confirm reach with the seat fully back and the rear glass cleaned first.
Picture a hatchback with a well-mounted rear-window camera, but no slack where the cable exits near the hinge area. The feed works for a week, then cuts out every time the hatch opens because the wire keeps flexing at the same point.
Do you need to charge, format, and test before driving?
Yes, but the priority is card setup and a full recording check, not a routine pre-charge. Some cameras use capacitors, others have small batteries, and the power method matters more than many guides suggest. The same source says to charge the dash cam for up to two hours before first use, so follow the model’s instructions first.
Set up the card for reliability, not just capacity
The same source recommends inserting a U3 card during setup, and it says standard SD cards are not recommended. That is not a minor accessory detail. Card mismatch is one of the main reasons a tidy install still fails in use.
Compatible capacities, per Nextbase, range from 32GB to 256GB. On the largest listed card, Nextbase says front-only 1080p recording time can reach 2260 minutes, while front-and-rear 4K/1080p recording can reach 540 minutes.
Insert the card, then format it in the camera’s own menu or app. After that, set the date, time, and time zone, confirm resolution, and verify that loop recording is enabled. If the maker requires a firmware update before stable recording, do that before you finish hiding the cable.
Why cameras freeze, skip clips, or fail loop recording
If the camera powers on but does not save clips, the install can look perfect while the storage setup is wrong. Common signs include random freezing, missing one-minute or three-minute files, restart loops, or a “card error” after a few drives.
Those symptoms often point to card compatibility, card speed, or a card that was not formatted in-camera after insertion. They can also appear after you add a rear camera and raise the total recording load.
GPS and Wi-Fi do not come from the installation method. They depend on the camera model. Test those features after recording works, not before.
Final checks before you trust it
Play back a daytime clip and a night clip. Check for dashboard glare, a tilted horizon, and wiper coverage in rain. Then test ignition on/off behavior, parking-mode entry if used, and rear-camera sync after at least one full shutdown and restart cycle.
Common mistakes
No power
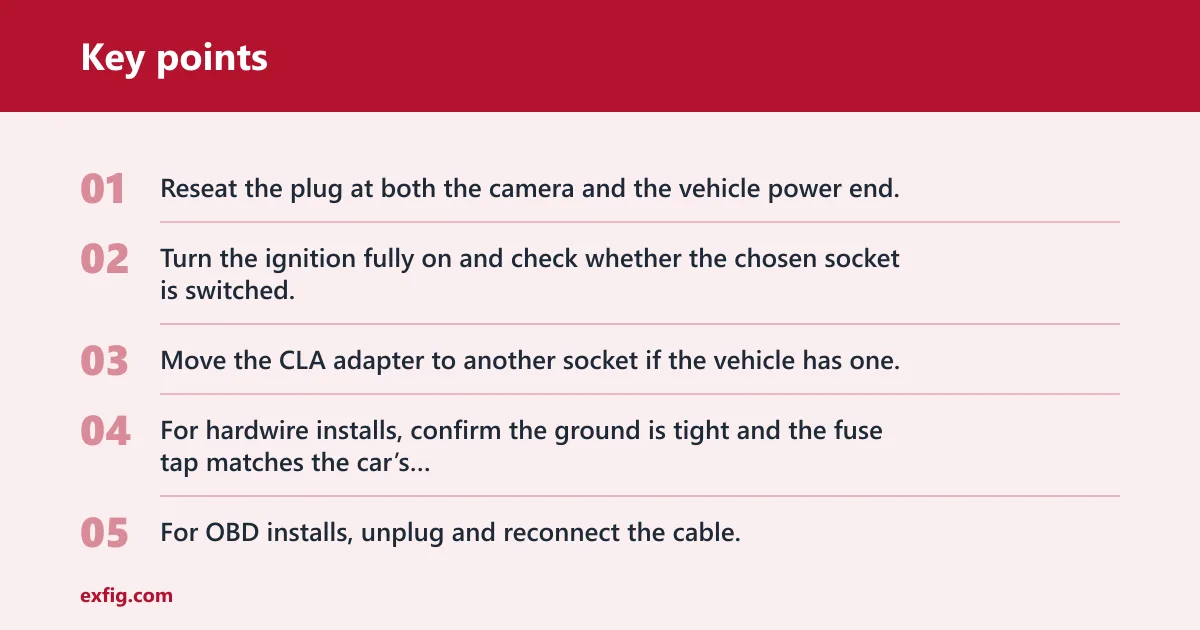
- Reseat the plug at both the camera and the vehicle power end.
- Turn the ignition fully on and check whether the chosen socket is switched.
- Move the CLA adapter to another socket if the vehicle has one.
- For hardwire installs, confirm the ground is tight and the fuse tap matches the car’s fuse type.
- For OBD installs, unplug and reconnect the cable, then verify the camera model supports that cable.
If that does not fix it, check the hardwire kit’s low-voltage cutoff setting and the camera’s power input rating in its manual.
Powers on but does not record
- Open the camera menu and confirm loop recording is enabled.
- Format the microSD card in the camera, not only on a computer.
- Replace any generic or standard SD card with the maker’s supported type; Nextbase calls for U3 and says standard SD cards are not recommended.
- Reduce one variable at a time: remove the rear camera temporarily, then retest clip saving.
- Review a saved file on the screen or app before driving again.
This is the failure point many guides skip. A camera that boots is not automatically a camera that records reliably.
Glare, vibration, or blocked footage
- Move the lens back into the wiper-cleared area if rain haze reduces detail.
- Shift the mount off any tint band or frit-dot zone if the image looks hazy or the bracket loosens.
- Re-level the horizon in 2-degree increments, then replay a daytime clip.
- Swap a shaky suction mount for an adhesive pad if vibration blurs plates.
- Check that the mirror housing is not blocking part of the frame.
Battery drain or parking-mode problems
- Verify that the camera itself supports parking recording.
- Confirm the chosen power method supports parked power; BlackboxMyCar notes that parking recording needs suitable power.
- Set the hardwire kit or battery pack cutoff to the maker’s supported range.
- If the car sits unused for long periods, move from direct vehicle power to a dedicated battery pack.
- Check whether the 12V socket stays live when parked before assuming a plug-in setup will work.
No setup promises zero drain. The real question is how controlled that drain is and whether cutoff protection is active.
Rear-camera sync failure
- Confirm the rear connector is fully seated at both ends.
- Open and close the hatch or trunk while watching the rear feed for dropouts.
- Inspect any bend point near a hatch hinge or rubber boot.
- Reroute the cable away from pinch points and defroster tabs.
- Retest with the vehicle running and after a full restart.
Prevention
Format the card in-camera on a schedule, keep one supported spare card in the glove box, and recheck the mount angle after the first hot week. Those habits stop many “it worked at install” failures.
Frequently asked questions
Should I plug in or hardwire my dash cam?
Plug in with the cigarette lighter adapter for driving-only use, especially if the camera powers on and off with the ignition. Hardwire when parked recording matters and the camera supports it. If the vehicle sits for days, a dedicated battery pack is the safer parked-power option.
How do I route dash cam cables neatly?
Run the cable across the headliner, down the edge of the A-pillar, and under dash trim to the power source. For rear cameras, continue along upper trim to the back of the cabin. Keep the wire out of side-curtain airbag paths, weather seals, and hatch pinch points.
Do I need to charge a dash cam before first use?
Sometimes. The same source says to charge the dash cam for up to two hours before first use, but some models use capacitors and depend mainly on vehicle power once installed. Follow the maker’s instructions, then focus on card formatting and recording checks before the first trip.
What microSD card should I use for a dash cam?
Use the card type and capacity the camera maker supports. The same source recommends a U3 card, says standard SD cards are not recommended, and lists compatible sizes from 32GB to 256GB. Format it in the camera, then confirm loop recording works before you rely on it.
Will a dash cam drain my car battery?
It can if the camera records while parked from the starter battery. Driving-only plug-in setups usually stop when the socket turns off. Hardwire, OBD, and parked-power setups should use voltage cutoff or a dedicated battery pack to limit drain risk.
What should I check before starting a dash cam install?
Check local windshield-placement rules, whether the 12V socket stays powered when parked, the route around side-curtain airbags, fuse-box access if hardwiring, rear-camera cable length, and hatch movement on SUVs or hatchbacks. Then verify that the microSD card is compatible before mounting anything.